
Wooden Teething Crochet Ring How To Make Them | Melikey
As a manufacturer baby silicone teether factory, we are happy to see end consumers make all kinds of baby toys by themselves, and we are also willing to collect all kinds of information for reference. Many of our end customers like to make their own comfort chains, children's playground toys, crochet toys and so on.
Cover the teething ring with crocheted yarn
There are two basic methods for covering wooden rings with crochet yarn:
Make a rectangular piece, sew it on the ring and close it; and go through the ring itself and use the ring inside each stitch to make the sc.
Pros and cons of the method
Before we start this tutorial, let me tell you the pros and cons of each method.
Covering: The first method limits the number of rings you can cover, because you can't actually cover the entire ring with a rectangular block, while the second method can easily cover the entire ring.
Irregular stitches: Another thing to be aware of is that using the second method to pass through the loop may result in irregular stitch sizes because it is difficult to stitch with precise tension every time you pass through the loop. If you find yourself annoyed by finding loopholes in your work, it is best to use the first method.
Designs you can try
I have three designs to show you how to use these two methods:
Single crochet sleeve
Berry needle set
Cover the ring with SC
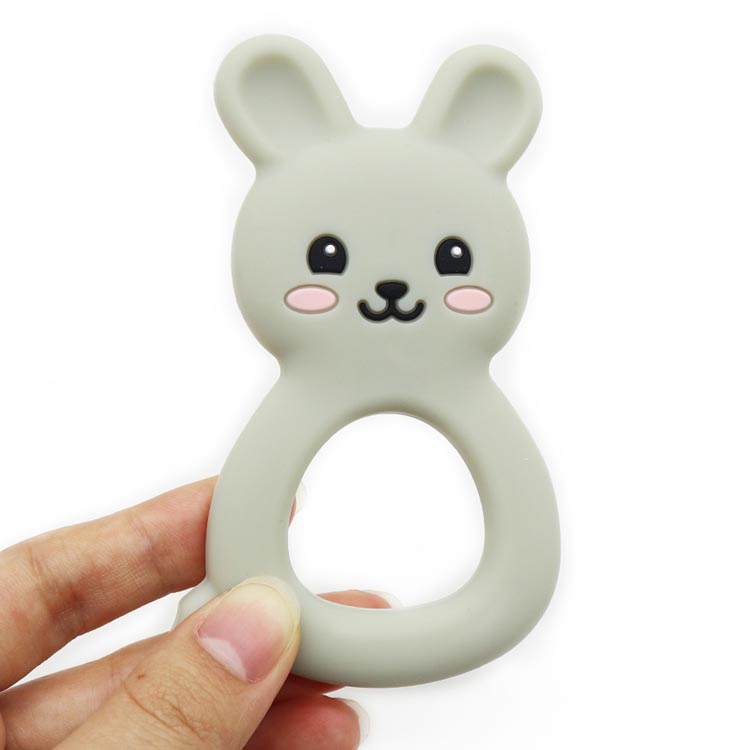
Bear Teether
Material
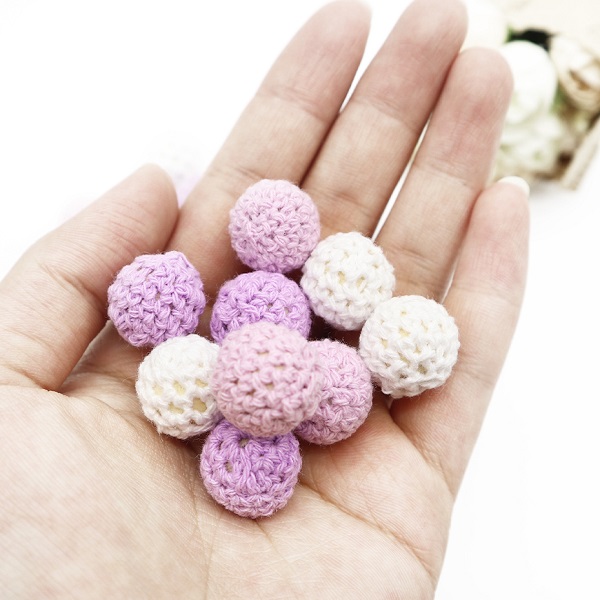
Any other organic cotton yarn
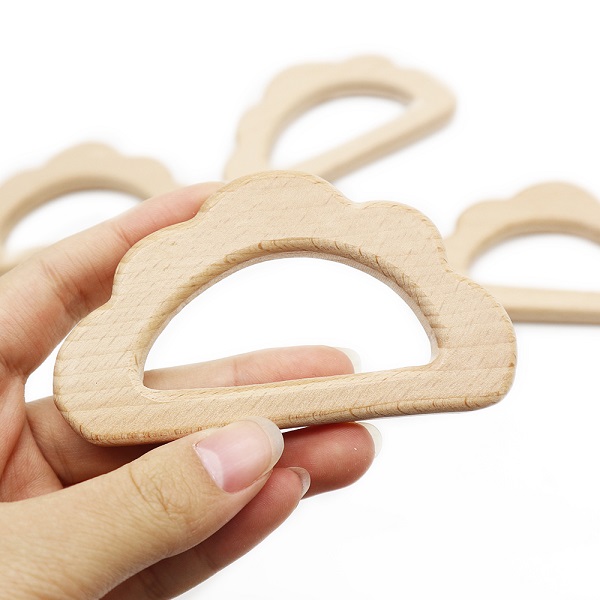
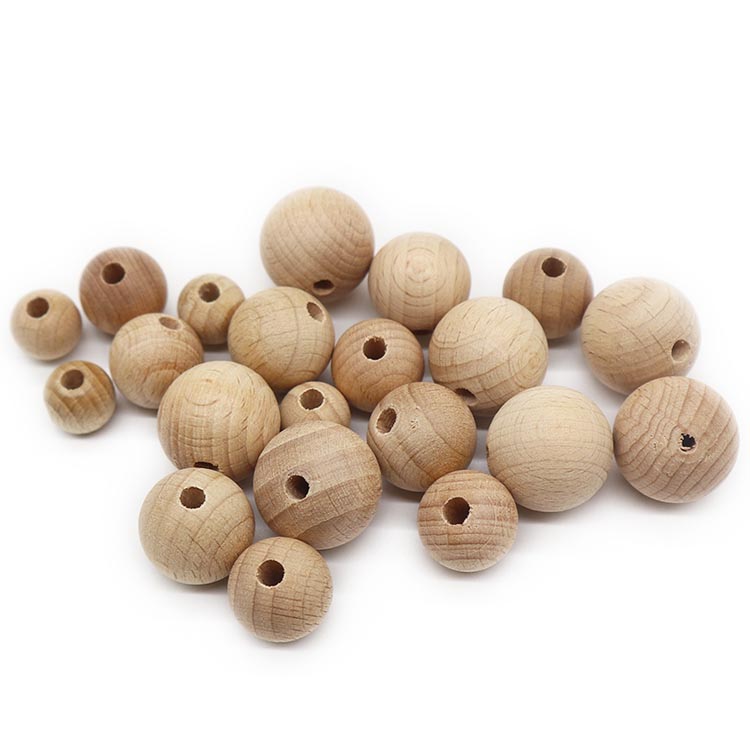
2.5 inch wooden ring
Size C crochet or any hook that suits your yarn thickness
Tapestry needle
Scissors
Abbreviations used in U.S. terminology
Chain: chain
St(s): Stitch
Sl st: Sliding stitch
Sc: single crochet
RS: Yes
Berry st: Berry stitch: ch 3, sc is at the next st. (When working on the line above berry st, sk ch 3, and on the sc in the next st, push ch 3 to the working RS)
sk: skip
Single crochet sleeve
Note: If you are wondering, the bunny ears in the photo were designed by Anna Wilson and she was crocheted by her mother. I just used the other side of the ring to place the single crochet cover for this tutorial.
Step 1: Find the chain length of the protective sleeve you want. Make sure it does not exceed half the circumference of the ring, because a single rectangular block will not cover the entire ring. Add 1 ch, then use sc in the second ch and each ch of the hook, and turn. If you follow me, I made a total of 26 chains.
Step 2: Ch 1, sc cross and turn at each ch. Repeat this step until you can cover the thickness of the ring with a rectangular piece. I did 12 lines for me. Fasten it and leave a long tail seam.
Step 3: Stitch the whole piece together by matching each stitch on each end. Hide the tail inside the ring to complete the work.
Berry needle set
To show you the possibilities of different stitch patterns that can be made using the first method, here is a written pattern that uses berry stitches to cover berry stitches, which I used in the previous Barbie berry stitch shrug pattern.
Line 1: Ch 25 (should be divisible by 3 + 1), sc is in the second ch of the hook, in each ch, turn.
Line 2 (RS): Ch 1, sc in the first sc, berry st in the next sc, (sc in the next sc, berry st in the next sc) pass, sc in the last sc, Rotate.
Row 3: Ch 1, sc cross and turn at each sc.
Note: When working on this production line, remember to push the berries to the right side of the job.
Lines 4-11: Repeat lines 2 and 3.
Line 12: Repeat line 2.
Fasten it and leave a long tail seam. Stitch this piece together by matching every stitch on each end. Hide the tail inside the ring to complete the work.
Cover the ring with SC
This section only covers the initial scs working through the ring. You need to learn this to make a bear teething ring.
Step 1: Tying a slip knot on the hook. Pass the hook through the loop from the back so that the working yarn is on the back of the loop.
Step 2: Pull the hook onto the loop to start sewing stitches. Note how the yarn passes through the center of the loop.
Step 3: Place the working yarn on the back of the loop, pass the yarn through and pull through the slip knot to make a slip stitch to hold the yarn in place.
Step 4: Insert the hook into the loop again for the next stitch. Pull the yarn through and through the loop, lift the hook again for the next stitch, pull the yarn through and through the loop to form an sc.
Step 5: Repeat Step 4 until the required ring network coverage is reached. Tie and braid at the end of the ring to complete this piece.
Bear tooth ring
Just like Berry Stitch Cover, I want to show you the patterns you can make using the second method.
Line 1: Form 26 sc or the number of wooden rings you want, depending on how far apart you want your ears to be. We need to save 2 scs at each end so that the ears can be placed on things at both ends. Do not tighten, turn.
Line 2: Ch 1, sc in the first 2 sc, 6 dc in the next sc, sc in the next 20 sc, or until you reach the last 3 sc, 6 dc in the next sc, and finally The sc sc of the 2 sc, turn.
Line 3: Sl st in the first sc, sk 1 sc, sc in the next 6 dc, sk 1 sc, sl st in the next 18 sc, sk 1 sc, in the next 6 The sc in dc, sk 1 sc, And sl st is the last sc.
Fasten and knit at the end of the ring to complete this piece.
Add more elements to your teething ring
Therefore, even after understanding these two methods, you still want to use extra yarn to add more elements to your tooth ring. And all the empty space you see on the ring. The last thing I want to share with you in this article is how to make a round ring. It adds other things for babies to play, and it also provides more texture for chewing.
Circle
Step 1: Use the wooden ring in the middle to form a magic ring. Check out the photos below for a step-by-step tutorial.
Step 2: Work 20 sc on the magic ring or until you have enough sc to cover the ring and there is some room for it to move freely around your teether. Add sl st to the first sc.
Step 3: Ch 1, (2 sc in the next sc, sc in the next 3 sc) span and join.
Step 4: Tie up and knit at all ends.
Repeat steps 1-4 to make more rings on the gutta percha. Make sure to face the ring in the same way every time so that the RS of the round ring is facing the same direction.
More ideas
Here are more ideas for customizing your own wooden tooth ring:
For the first method, you can use any stitch pattern you want, make a rectangular block, and then sew it on your wooden ring.
For the second method, you can take any ponytail holder pattern and apply it to the ring to get a beautiful circular design.
Use the ring method to add magic circles to form different shapes, such as stars and hearts.
Add some chains in any method to add hanging elements to your teether.
Enjoy the fun of customizing your baby’s wooden teething ring.

Post time: Nov-27-2021